We’ve all been there. You’ve just signed up for a new mobile service like Xfinity Mobile, eager to make the most of your new plan, but you’re not quite sure how to activate it.
Xfinity Mobile is Comcast’s mobile service, exclusively available to Comcast Xfinity Internet Subscribers. It operates as an MVNO, or Mobile Virtual Network Operator, leasing network capacity from larger carriers, specifically Verizon’s 4G LTE and 5G network.
Whether you’ve obtained a new phone from the Xfinity Mobile website, which features a range of major smartphones like Apple, Google, Samsung, and Motorola, or if you prefer to bring your own device (BYOD), we’ve got you covered. You can check here to verify if your current device is compatible with Xfinity Mobile.
Now, let’s delve into the precise steps for activating your new Xfinity mobile service.
What Plans Does Xfinity Mobile Have?
Xfinity Mobile provides a variety of Unlimited and By the Gig Plans. These plans include unlimited nationwide talk and text, and there are no line access fees. Additionally, the plans are contract-free, ensuring that you are not committed to any specific duration.
Is Xfinity Mobile Right for Me?
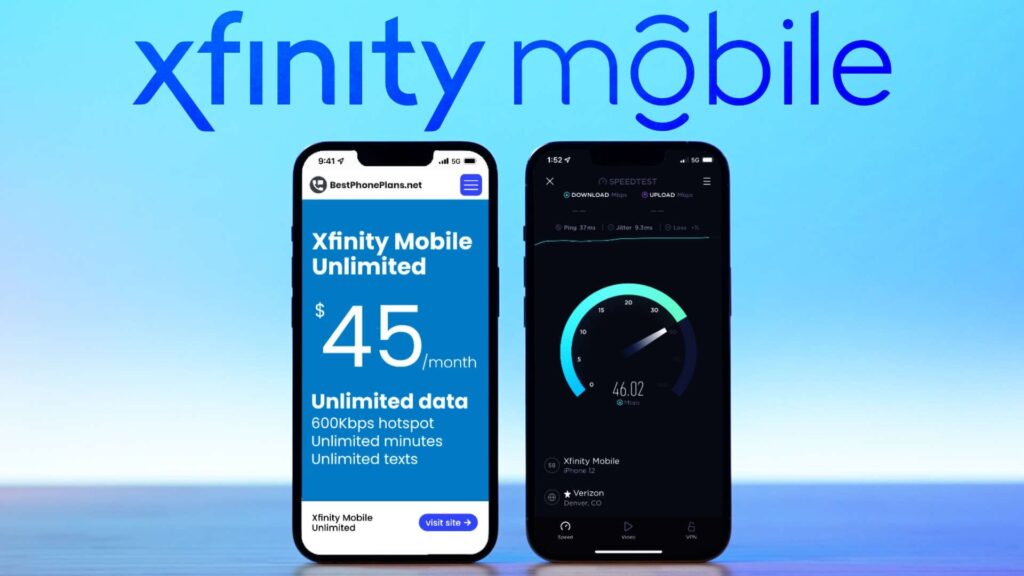
If you’re comfortable with potentially reduced speeds during peak network times, fewer additional features compared to major carriers like AT&T, T-Mobile, and Verizon, and you’re seeking cost savings, Xfinity Mobile might be the right mobile provider for you.
If you’re considering a switch to Xfinity Mobile but are unsure about which plan suits you best, our Plan Finder below enables you to compare the latest Xfinity options and find the one that meets your requirements.
How Do I Activate Xfinity Mobile?
Activating Xfinity Mobile is a straightforward process that typically takes around 10-15 minutes. If you encounter any issues, don’t hesitate to reach out to customer support for assistance.
Here’s a step-by-step guide:
1. Retrieve your account PIN from your previous carrier, which is necessary for activation. Contact your carrier if you don’t have it readily available.
2. For Apple iPhone 12 or earlier models, install the provided nanoSIM. If you have an Android phone with a pre-installed nanoSIM or an iPhone 13 or later with an electronic nanoSIM or eSIM, you can skip this step.
3. If you have a new Xfinity Mobile phone, unbox it, ensuring the device is turned off. If you’re bringing your own device (BYOD), open the package containing the Xfinity Mobile nanoSIM card.
4. Visit xfinitymobile.com/activate, log in or create an account, and select the phone you want to activate.
5. Choose whether to keep your existing phone number or get a new one.
6. Click the activate button, and your phone should be ready in about ten minutes.
7. Enter details about your device, including the IMEI number.
8. Provide the account number and PIN from your previous carrier when prompted, using the information gathered earlier.
9. Watch for a confirmation email if you opted for a new number.
10. If required, insert the Xfinity nanoSIM card or activate the line with your eSIM.
Once you complete the Xfinity Mobile activation, your phone will be ready for internet access, calls, and messaging.
For further details or clarification on any of these steps, refer to the additional mini-guides below.
Read: Teleportation Terraria – Unlocking the Mysteries
How Do I Install a nanoSIM Card?
As pledged, here’s a comprehensive guide on installing a nanoSIM card for iPhone 12s or earlier models:
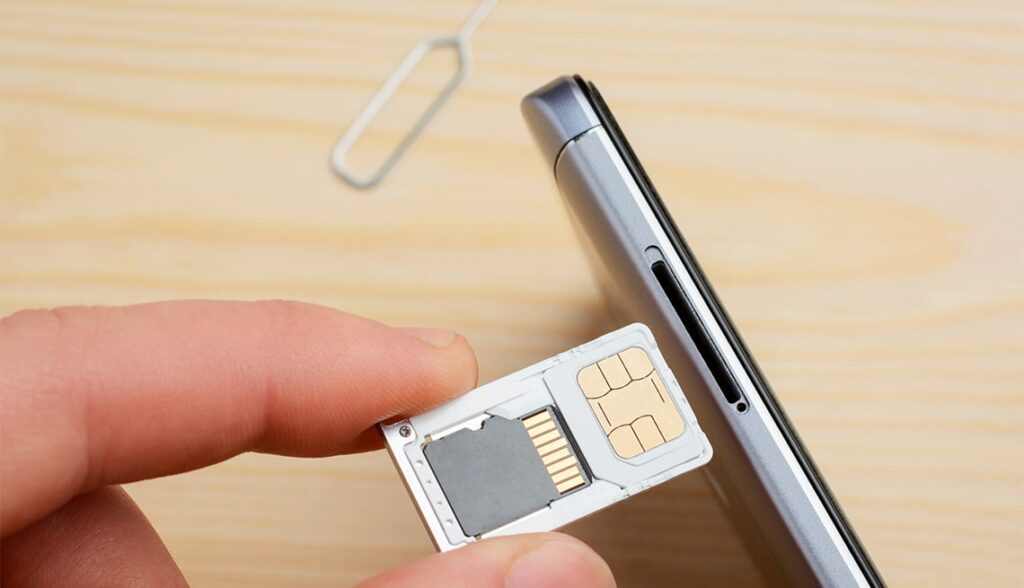
1. Unbox the device and locate the plastic SIM card along with a SIM Ejector Tool.
2. Utilize the SIM Ejector Tool to open the card tray on your device. If the device is brand new, the tray will be empty. For pre-owned devices, remove the old SIM card.
3. Place the new SIM card in the tray, ensuring the notch on the SIM card aligns with the notch on the tray.
4. Insert the tray back into your device.
5. When activating multiple phones, ensure you use the correct labeled nanoSIM card for each device.
6. If you’re transferring your number, back up your phone and keep it nearby, just in case.
This guide ensures a smooth installation process for nanoSIM cards on iPhone 12s or earlier models.
How Do I Activate a New Line With eSIM?
If you own a newer iPhone model, it comes equipped with an eSIM. Once you’ve received your confirmation email, you can initiate the eSIM activation process. If you’re transitioning from a nanoSIM device to an eSIM device, avoid inserting the old nanoSIM card into the new device, as this may lead to activation issues.
There are three methods to activate a new eSIM line:
1. URL (Website Address):
- Navigate to your settings screen.
- Select “Cellular.”
- Opt for “Add Cellular Plan.”
- Choose “Enter Details Manually” at the bottom of the screen.
- Locate the SM-DP+Address field.
- Enter “gsmacct.vzw.otgeuicc.com” into the SM-DP+Address field, ensuring the Activation Code and Confirmation Code fields remain empty.
- Tap the “Next” button in the top right corner of the screen.
2. QR Code:
- Navigate to your Settings screen.
- Select “Cellular.”
- Click on “Add Cellular Plan.”
Scan the QR code provided by Xfinity to activate your eSIM.
3. Push Notifications:
- Access your settings screen.
- Choose “Xfinity Mobile Cellular Plan Ready To Be Installed.” This action will direct you to the Activate eSIM screen.
- Select “Continue” at the bottom of the Activate eSIM screen, leading you to the Cellular Setup Complete screen.
- At the bottom of the Cellular Setup Complete screen, tap the “Done” button.
For additional details on SIM card activation, refer to our informative guide on how to activate a SIM card.
How Do I Activate an Existing eSIM Line?
If you are activating an existing eSIM line, such as transferring a mobile number to a new device or switching carriers while retaining your phone, adhere to these steps:
- Opt for “Replace Your device” on xfinity.com/mobile/my-account/devices.
- Select “Bring Your Own.”
- Choose the specific device to which you are transferring.
- Input the device’s IMEI and proceed with the activation instructions displayed on your screen.
- For those transferring between compatible iPhones, an eSIM Quick Transfer can be performed.
What Is an eSIM Quick Transfer?
An eSIM Quick Transfer streamlines the process for iPhone users to efficiently transfer a physical SIM or eSIM from one iPhone to another. Both devices must have iOS 16 or newer iOS software for this transfer to occur seamlessly.
Here’s a step-by-step guide:
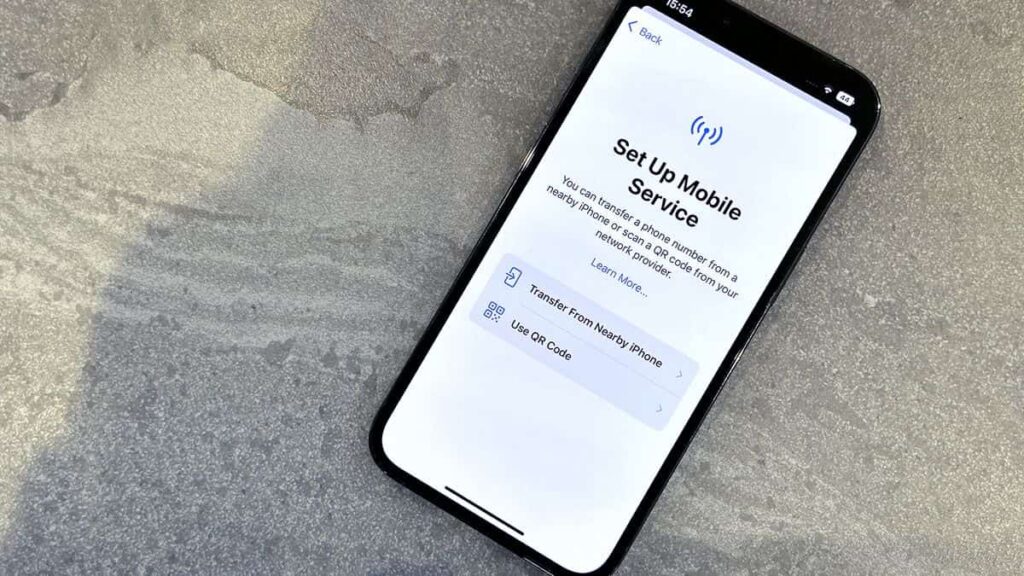
1. Turn on your new phone and go to “Settings.”
2. Select “Cellular.”
3. Choose “Add Cellular Plan.”
4. Pick the cellular plan you want to transfer.
5. Confirm the transfer by selecting “Transfer.” If prompted for a verification code, enter the one displayed on your new iPhone.
6. Your eSIM will become active, and the previous SIM card will be deactivated.
7. If a message appears saying, “Finish Setting Up Your Carrier’s Cellular Plan,” choose that option and complete the process on your carrier’s website.
For compatible iPhones, it’s also possible to convert a physical nanoSIM card to an eSIM in the “Settings” app. Navigate to “Cellular,” then “Convert to eSIM,” and the “Convert Cellular Plan” button should appear.
Ensure your eSIM is activated. After activation, your physical SIM card should be deactivated, allowing you to remove it from your iPhone and restart the device.
If you are not transferring between compatible iPhones, you’ll need to download a new eSIM card using the steps mentioned above.
Read: All Access Technologies 402-699-2575 – A Comprehensive Overview
Conclusion:
These steps should guide you through the activation process for your Xfinity Mobile device. If you encounter any issues, don’t hesitate to reach out to Customer Service for assistance.
If you’re still on the lookout for the perfect phone and plan, let us assist you! Explore Navi’s Phone Deal Finder and Plan Finder to discover the latest offers from leading carriers tailored to your preferences. Our tools are free, impartial, and designed to simplify the comparison of the best deals and plan options.
Read:
- Teleportation Terraria – Unlocking the Mysteries In 2024
- Hüriyer – A Profound Exploration of Cultural Resonance!
- All Access Technologies 402-699-2575 – A Comprehensive Overview In 2024